How to Clay Bar a Car [Step by step tutorial]
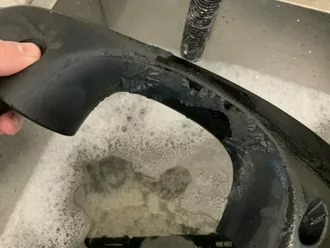
Introduction What is a Clay Bar? A clay bar is a synthetic, malleable clay-like material that is specifically designed to remove contaminants from your car’s paint surface. These contaminants can …
Introduction What is a Clay Bar? A clay bar is a synthetic, malleable clay-like material that is specifically designed to remove contaminants from your car’s paint surface. These contaminants can …

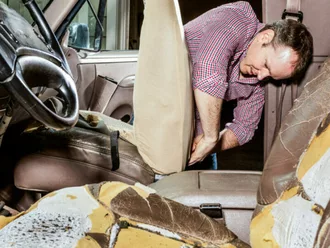
Top 10 Ways to Get a Free Car Wash: Tips and Tricks You Need to Know Car washing can be a tedious and expensive task, especially for those who like …

Say Goodbye to Water Spots: The Ultimate Guide to Washing Your Black Car As a proud owner of a black car, you know that nothing quite compares to the beauty …